Property Management Chatbot for WordPress
Narasimhan Vallur | 2026-11-10
Last updated: November 13, 2026
Adding a property-management chatbot to WordPress starts with a practical question: where can your website safely load the supplied chat script? LOFTx.ai installs through an embed script, so the conversation can fit into your existing website while your team controls the answers, branding and next-step actions.
For a PMC, those actions may guide renters toward a tour or owners toward a consultation. For a vendor, they may help a property manager ask about a service and contact sales. The installation should support that business goal from the start.
What to prepare for your WordPress chatbot
Loftx's website chat provides configurable branding and buttons, knowledge-base answers, lead capture and live takeover. Before touching WordPress, decide which audience the widget serves and which actions it should offer.
Gather your approved FAQs and policy or service information. Choose whether the widget represents one property or the company. For leasing, confirm the relevant PMS and calendar setup; for a vendor inquiry, confirm the sales contact destination.
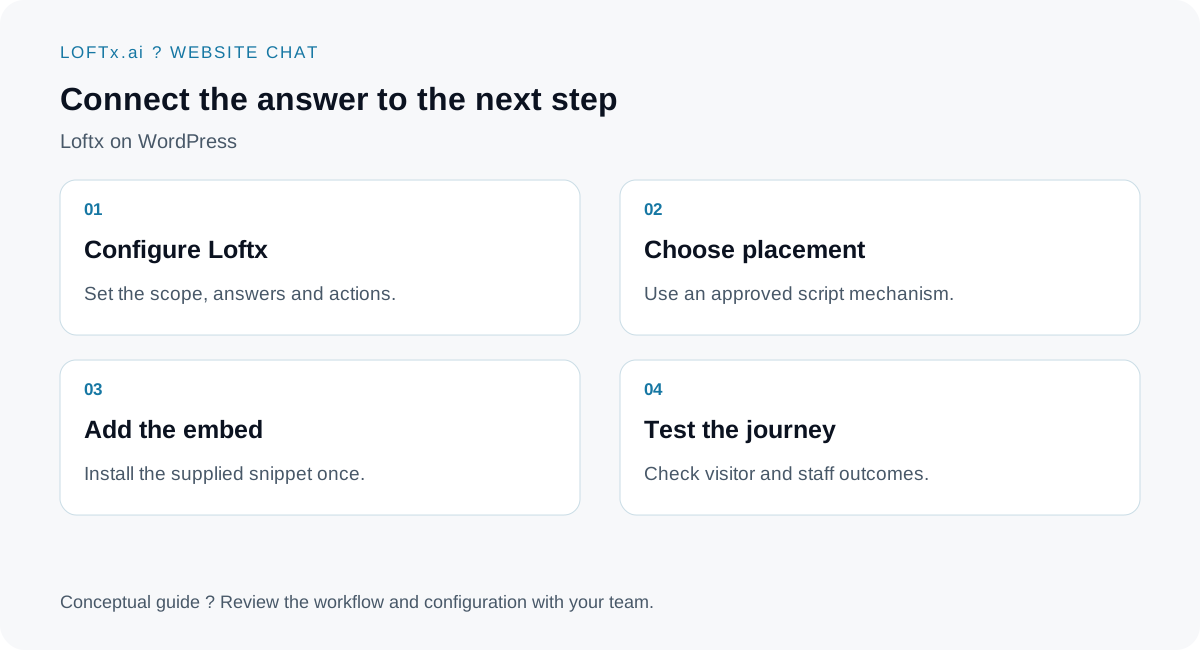
Implementation guide; validate the exact method on your WordPress installation.
Check your WordPress hosting and permissions
WordPress.com and a self-hosted WordPress installation can have different controls. WordPress.com currently permits JavaScript on plugin-enabled plans with activated hosting features. Its official code guide explains the restrictions and insertion options.
For a self-hosted site, ask the site administrator which existing mechanism is approved for site-wide scripts. Do not assume that a page editor will retain a script tag: WordPress's Custom HTML implementation handles content differently depending on the user's unfiltered-HTML capability.
Use the site's established approach rather than installing an unnecessary plugin or editing theme files simply to add chat.
Add the supplied Loftx embed once
Follow these steps with your site administrator:
- Obtain the correct embed from Loftx onboarding. Use the configuration for the intended company or property. Do not copy another customer's widget code.
- Choose a test page or staging site. Keep the existing live experience available while you check the new one.
- Place the supplied snippet in the approved location. Site-wide loading belongs in an appropriate site-wide mechanism; a page block only affects the pages that include it.
- Save and review the published preview. Check the visitor-facing page, not only the editor.
- Check caching and script controls if the widget is absent. Ask the administrator to inspect caching, consent behavior and content-security restrictions without disabling protections broadly.
This guide does not provide a generic script URL because the supplied configuration must match your organization. It also does not require a dedicated Loftx WordPress plugin.
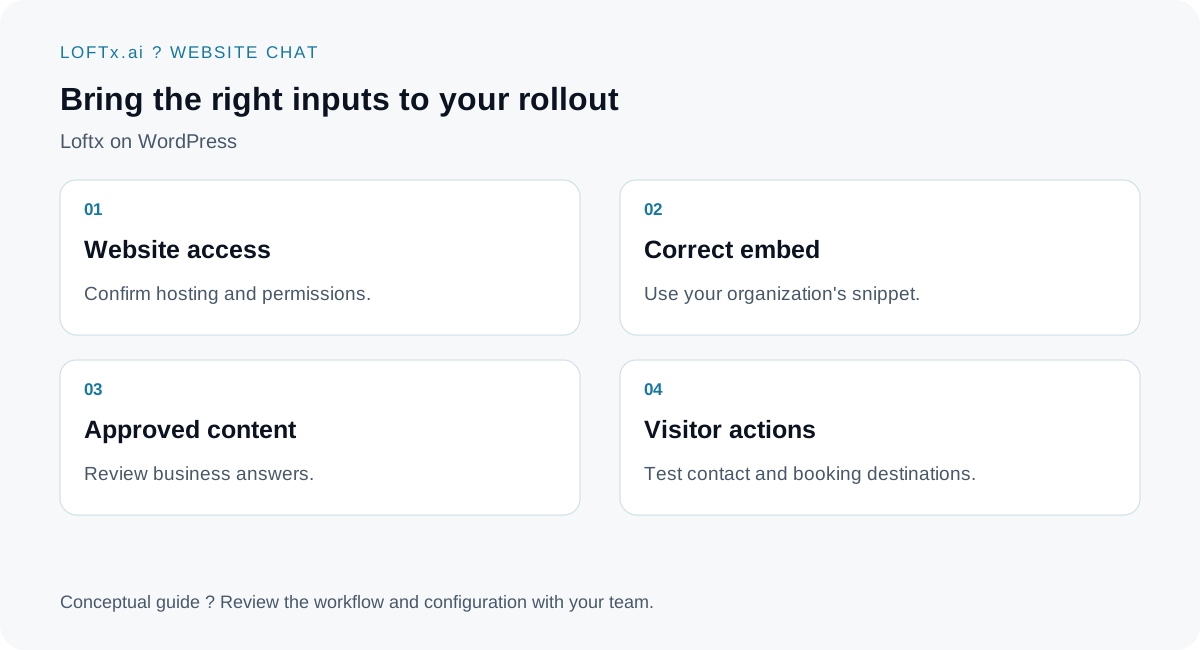
The snippet installs the experience; the configuration makes it useful.
Make the first conversation count
Set a welcome message that helps visitors understand what they can do. Use the buttons your team has configured, and test the destinations. For a PMC, ask about a specific unit or policy. For a vendor, ask a product question and request a sales conversation.
Loftx can capture the visitor's details and questions for your team. Verify that those arrive where staff expects, then test live takeover so the team can continue the chat when needed.
Check mobile and the rest of the page
Confirm the widget does not obscure the site's important controls on a phone. Test navigation between pages and ensure the script is not loaded twice. Compare page behavior before and after installation, including any existing consent mechanism.
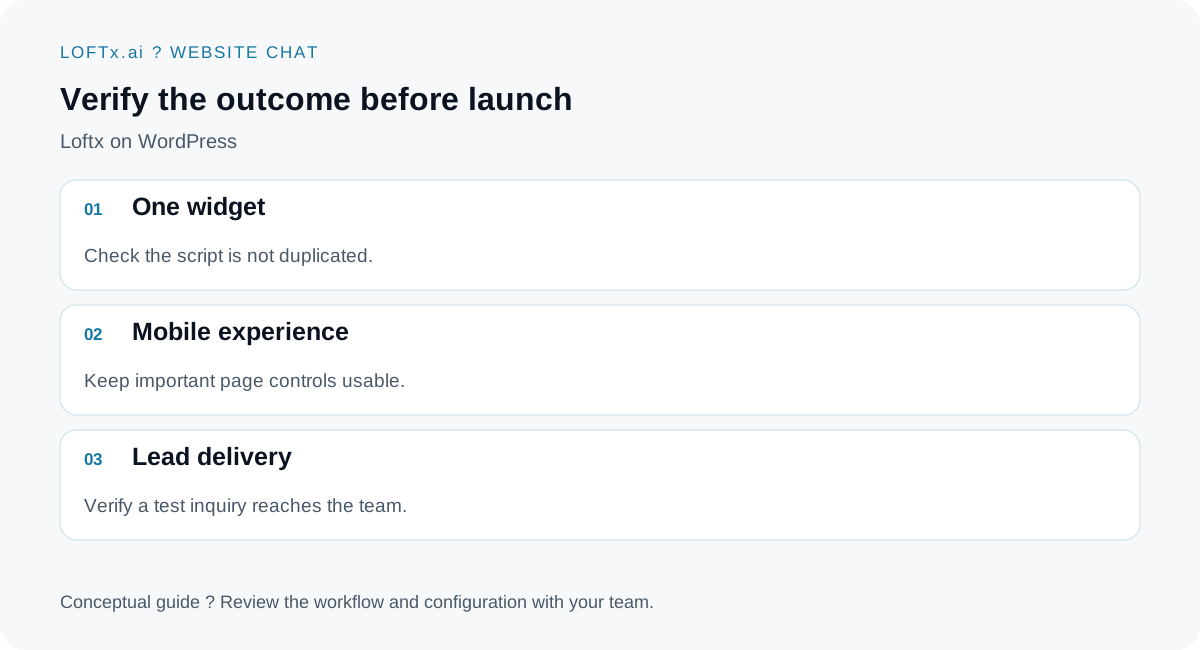
Complete these checks on your actual website before making the widget broadly available.
Bring your WordPress site to a Loftx demo
Book a demo with your website URL and the visitor journey you want to improve. We can review the embed approach, your company voice and the lead or booking actions that fit. Explore the website setup guide for the broader content plan.